SPRAAV1C May 2009 – March 2020 AM3703 , AM3715 , OMAP3503 , OMAP3515 , OMAP3525 , OMAP3530
-
PCB Design Guidelines for 0.4mm Package-On-Package (PoP) Packages, Part I
- Trademarks
- 1 Using This Guide
- 2 A Word of Caution
- 3 A Team Sport
- 4 Be Wary of Quotes
- 5 Don’t Forget Your CAD Tools
- 6 Metric Vs English
- 7 PCB Fab Limits
- 8 Routing and Layer Stackup
- 9 OMAP35x 0.4mm Pitch
- 10 Pad Type
- 11 PCB Pad Dimensions for 0.4mm BGA Package
- 12 Multiple BGA Packages
- 13 Etch Traps and Heat Sinks
- 14 Vias and VIP
- 15 Laser Blind Vias
- 16 Filled Vias
- 17 Know Your Tools
- 18 BeagleBoard
- 19 BeagleBoard Views
- 20 OMAP35x Decoupling
- 21 PCB Finishes for High Density Interconnect (HDI)
- 22 Real World Second Opinion
- 23 Acknowledgments
- 24 References
- Revision History
1 Using This Guide
This application report focuses on circuit board design guidelines specific to the OMAP35x processor, with 0.4mm pitch on the bottom and 0.5mm pitch pads on the top for memory attachment, using package-on-package technology. Experience has shown that PCB board design is the most crucial aspect of PoP design due to the extremely small pad pitches. Also, not all assembly houses can build such small pitch assemblies or properly mount the memory on top of the processor.
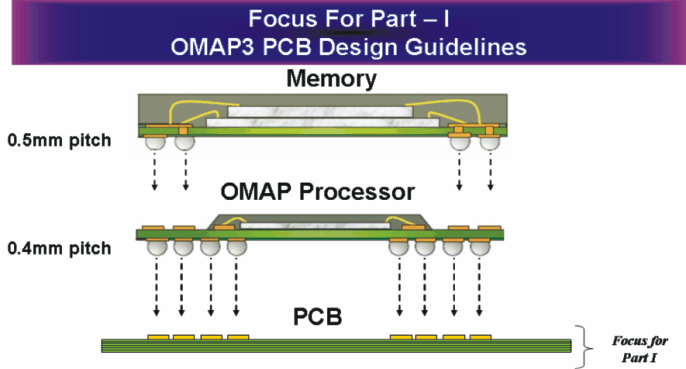
Figure 2 shows a 0.4mm pitch processor and its matching memory at 0.5mm pitch.
 Figure 2. Part 1 - Focus for Part I - PCB Design Guidelines
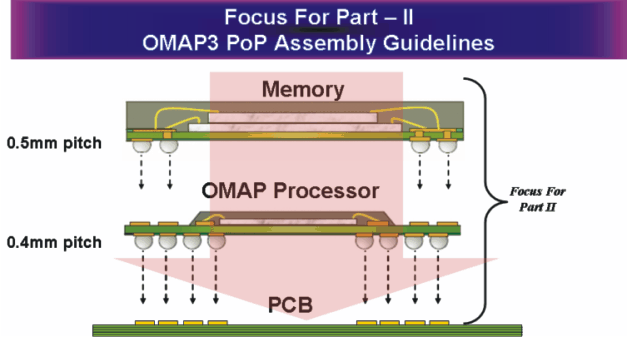
 Guidelines for the assembly of PCBs that use the PoP package are covered in the companion article to this document, PCB Assembly Guidelines for 0.4mm Package-On-Package (PoP) Packages, Part II, which will be referred to as Part II throughout the remainder of this document. Included are assembly options and suggestions to use when qualifying and working with your assembly sites, either internal or contract.
 Figure 3. Focus for Part II - Assembly Guidelines