SWRU580 April 2021 CC2564C , CC2564MODA , CC2564MODN
- Trademarks
- 1 Introduction
- 2 A2DP (AUD) Demo Guide
- 3 A3DP Sink Demo Guide
- 4 A3DP Source Demo Guide
- 5 HFP Demo Guide
- 6 HFP Audio Gateway Demo Guide
- 7 HID Demo Guide
- 8 HSP Demo Guide
- 9 Map Demo Guide
- 10PBAP Demo Guide
- 11SPP Demo Guide
- 12SPPLE Demo Guide
- 13SPPDMMulti Demo Guide
- 14ANP Demo Guide
- 15HFP Demo Guide
- 16HTP Demo Guide
- 17PASP Demo Guide
- 18HOGP Demo Guide
- 19PXP Demo Guide
- 20FMP Demo Guide
- 21CSCP Demo Guide
- 22Revision History
4.2 Demo Application
This section provides a description of how to use the demo application to connect an audio sink to it and communicate over Bluetooth.
Connecting with a Bluetooth SpeakerDevice 2 (Sink) setup
- Before we turn on the Source
Board, we make sure that the Sink is ready to connect. In our example, we use a
Bluetooth Speaker.
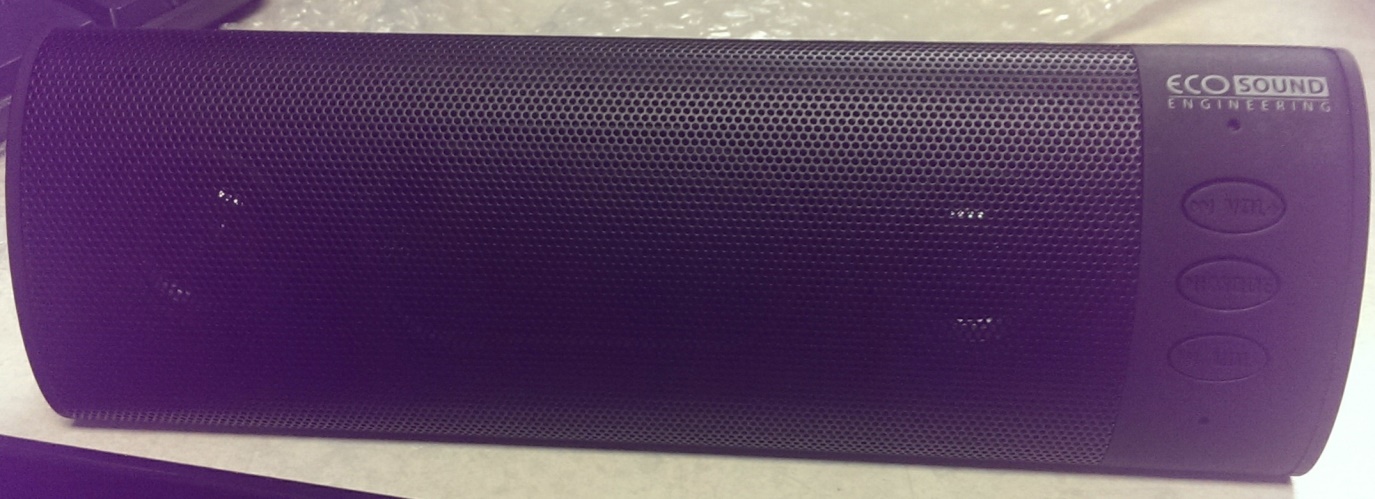 Figure 4-3 A3DP Source
Setup
 - Turn on the speaker using the On/Off Switch. You should hear an audible beep.
- Hold the mode button until you hear an audible beep and the blue led is flashing. The device is now discoverable and ready to be paired.
- Make sure that a microphone or
similar device is connected to J39. Once the FTDI/microUSB cable is connected,
press reset and you should see output similar to the Terminal output above.
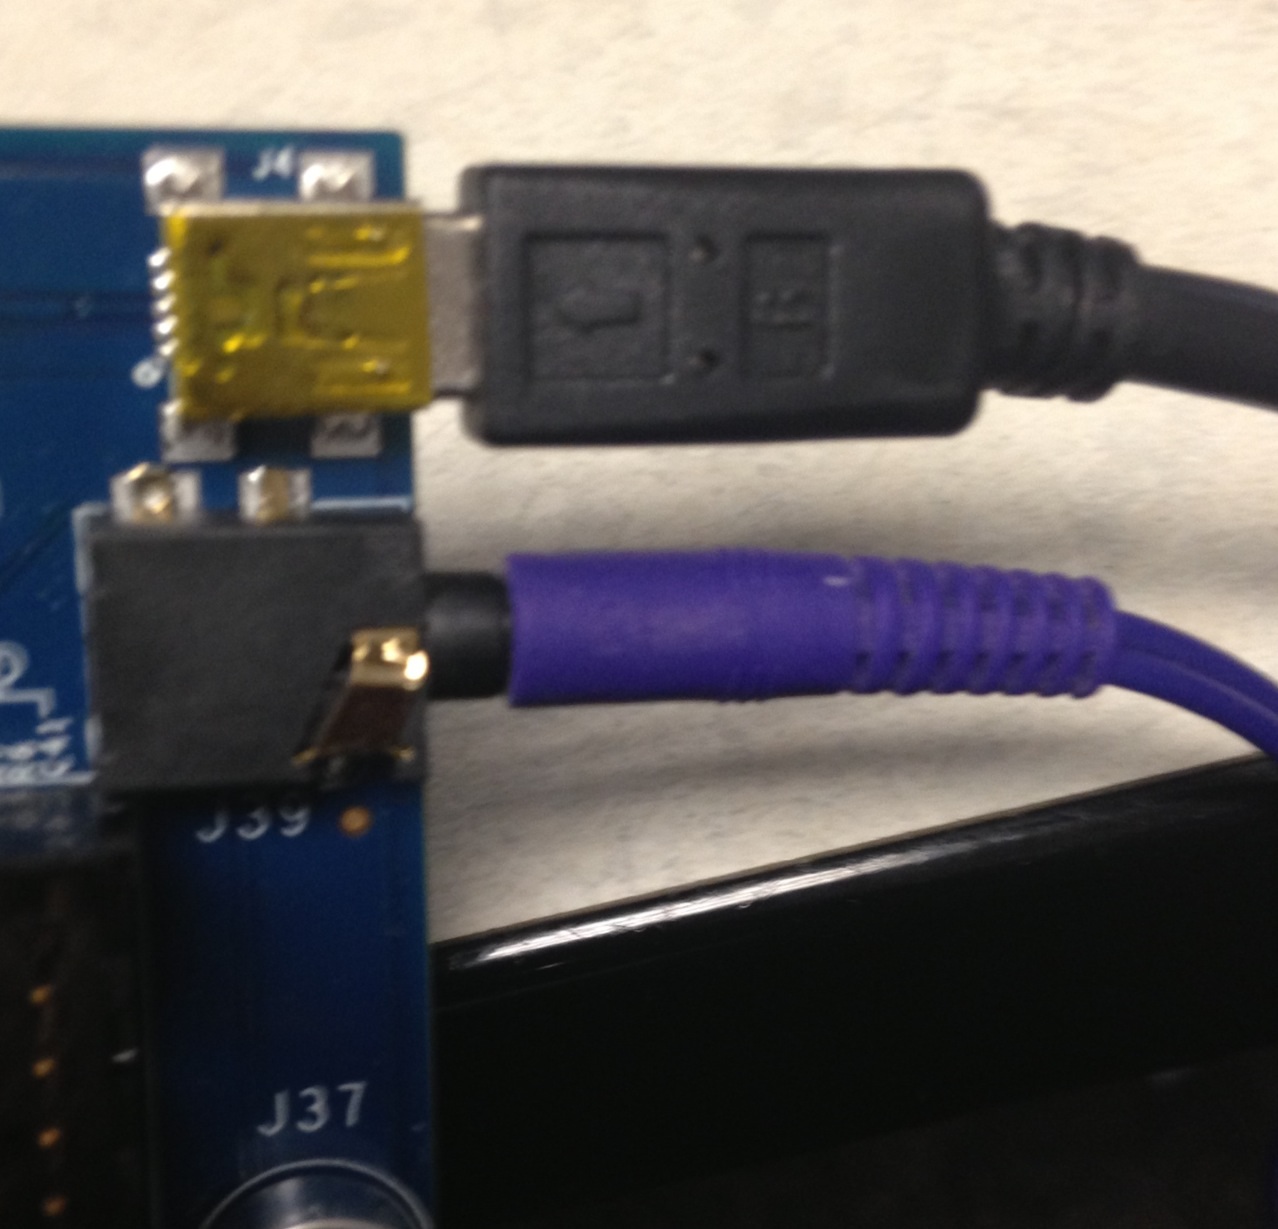 Figure 4-4 A3DP Source Setup
Connections
 - The Source device will begin auto
connecting with any discoverable & connectable sink device and filter out
other devices.
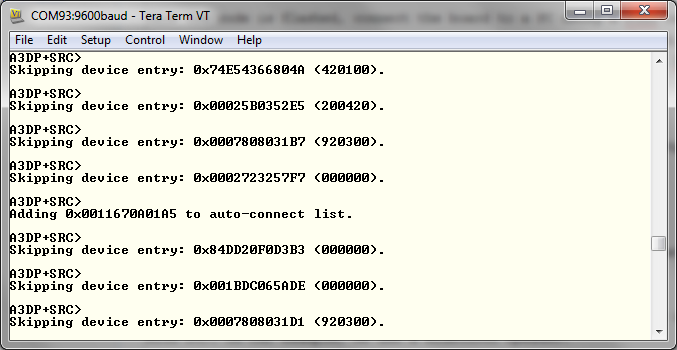 Figure 4-5 A3DP Source Demo
Device ListNote: The device will automatically begin an inquiry/open a sink. If you need to do this manually, follow the steps and reference the Terminal Output below.
Figure 4-5 A3DP Source Demo
Device ListNote: The device will automatically begin an inquiry/open a sink. If you need to do this manually, follow the steps and reference the Terminal Output below.- Type Inquiry to begin scanning for nearby devices.
- Type OpenSink <Inquiry Number> to open a sink channel to a Bluetooth device found during the previous inquiry.
 Figure 4-6 A3DP Source Inquiry
and Open Command
 - Depending on the settings of the
speaker device, it may initiate pairing as well.
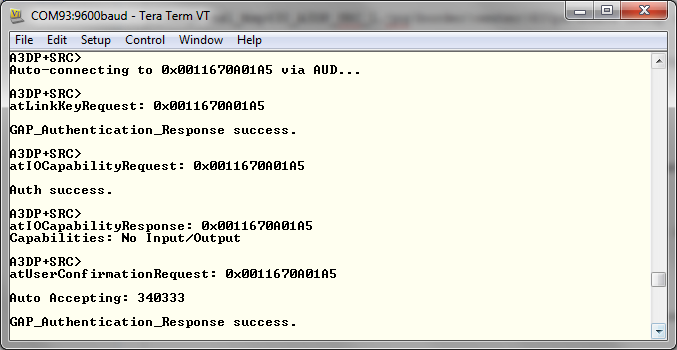 Figure 4-7 A3DP Source Terminal
1
 - The device will finish the connection and you should see a Stream State Change Confirmation and AUD Remote Control Open Indication events.
- You can now transmit audio from the source device. Speak something through the mic and the speakers should play the output.
Connecting with the BT-MSP-AUDSNK board
Device 2 (Sink) setup
- Make sure that the profile is
flashed and the device is powered up and the speakers are connected.
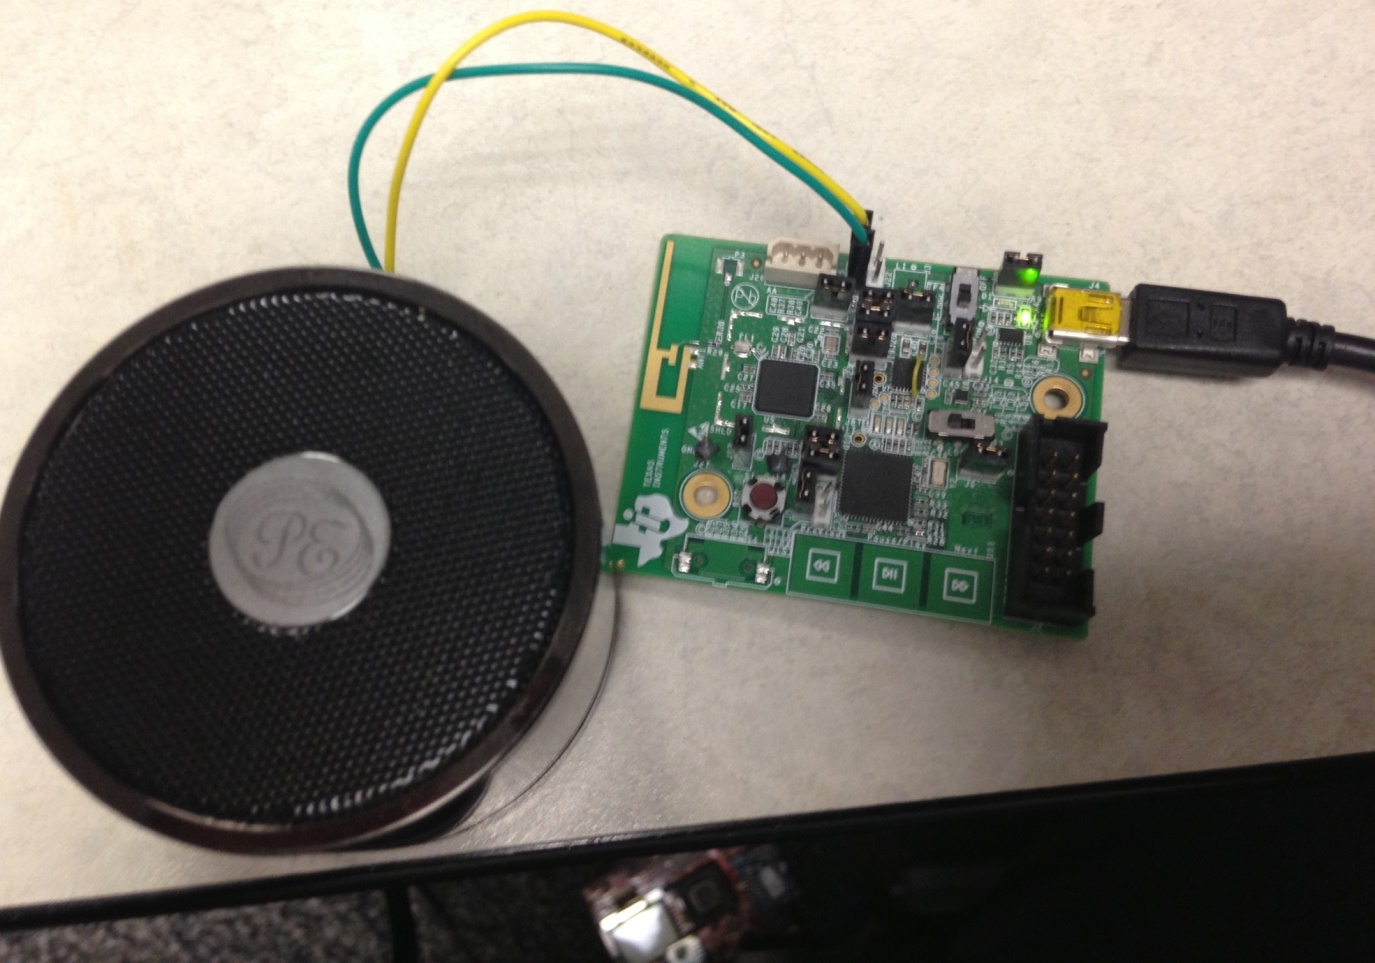 Figure 4-8 A3DP Source TI HW
Device Setup
- Setup the device as shown in the
previous section. The device should automatically perform an inquiry scan, pair
and connect with the SNK board. The images below show the terminal (SNK on the
left, SRC on the right) output of both of the devices.
 Figure 4-9 A3DP Source
Initialization
 Figure 4-10 A3DP Source Device
Pairing
 Figure 4-11 A3DP Source State
Change