SWRA478D February 2015 – January 2019 CC1310 , CC1312PSIP , CC1312R , CC1314R10 , CC1352P , CC1352P7 , CC1352R , CC2640 , CC2640R2F , CC2640R2F-Q1 , CC2642R , CC2642R-Q1 , CC2650 , CC2650MODA , CC2652P , CC2652R , CC2652R7 , CC2652RB , CC2652RSIP
6.2 Measurement Using Scope
When the instrument has been correctly setup and configured, make sure that Scope has been selected, as shown in Figure 6-9.
 Figure 6-9 Agilent 14585A Control and Analysis Software, Scope
The scope mode allows that measurement be ran over a short amount of time. In order to maximize the amount of data, use the following measurement setup: (see Figure 6-10).
- Time/div: 200 ms/
- Points: 512k
- Trigger: Scope Run Button
- Mode: Single
- Slope: Rising Edge
 Figure 6-10 Agilent 14585A Control and Analysis Software, Scope Setup
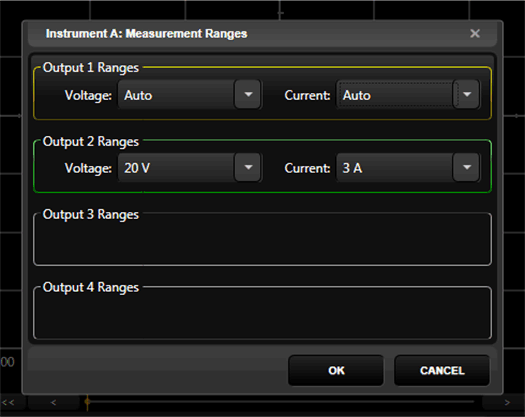
Next, make sure that the “Ranges…” is setup to Auto, as shown in Figure 6-11.
 Figure 6-11 Agilent 14585A Control and Analysis Software, Instrument Range
The instrument should now be setup properly and the measurement can start. Click the Play button in the bottom right corner → allow the instrument to start the measurement.