SNLU296A December 2022 – December 2022
5.2.1 Establishing a Connection
- Connect the computer to the DS560MB410 through a USB2ANY device and USB cable. If using a DS560MB410EVM, then this is accomplished by connecting the included USB cable to the EVM and computer. If using a stand alone USB2ANY device, then a connection can be made between the I2C pins on the USB2ANY and the SMBus pins on the DS560MB410. A common ground connection is also required.
- Ensure the DS560MB410 is in SMBus Target mode.
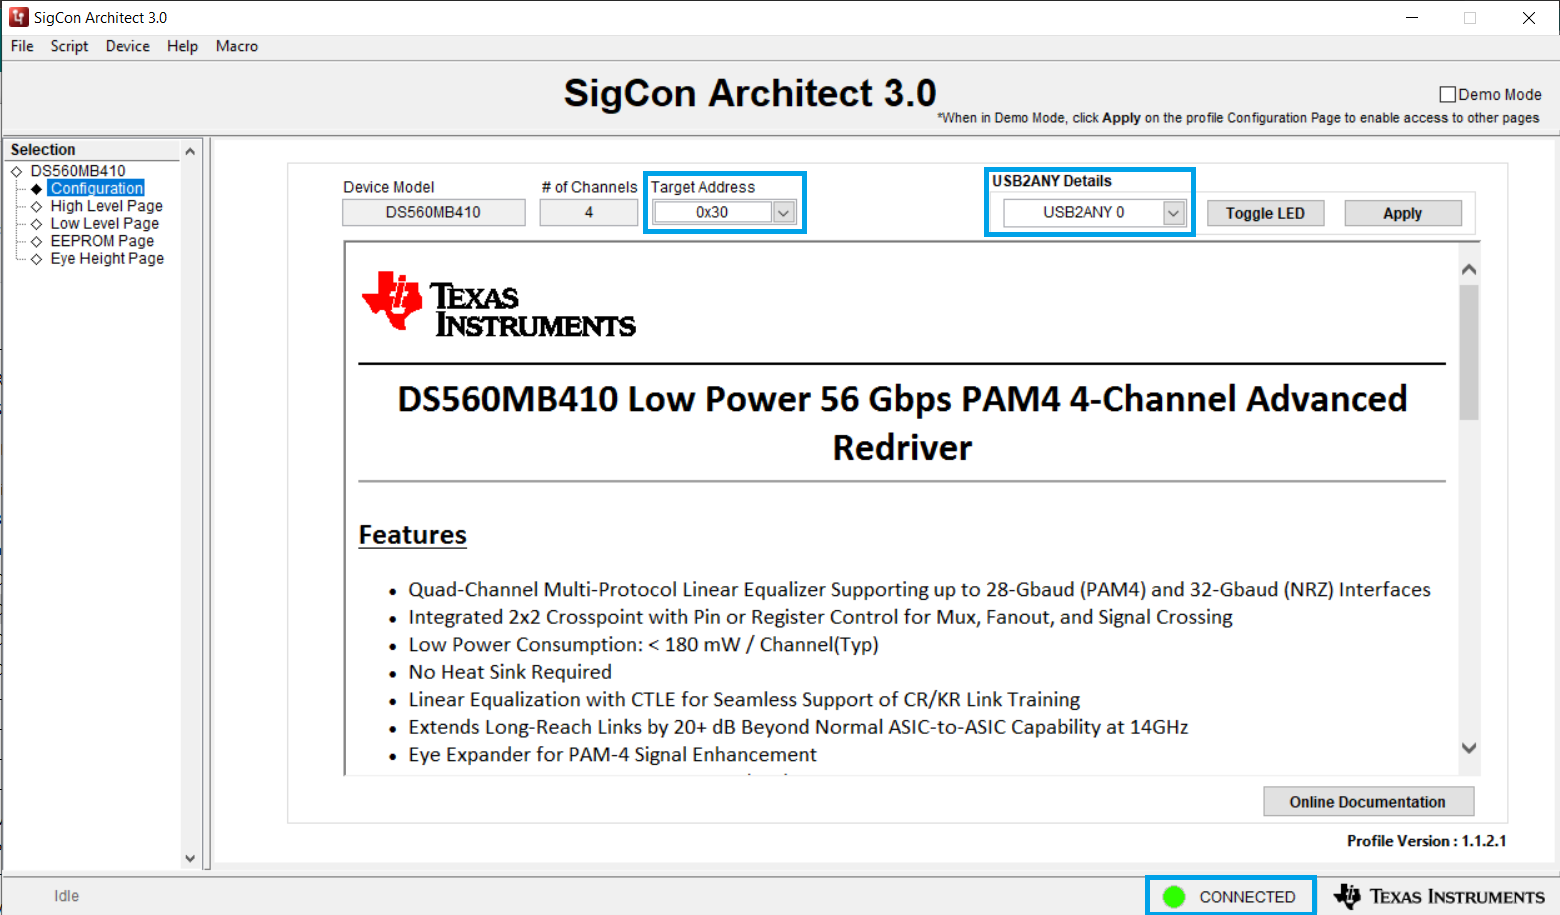
- Select appropriate SMBus address by using the Target Address menu.
- Select appropriate USB2ANY by using the USB2ANY Details menu.
- Click Apply to connect to the device. The status indicator at the bottom of SigCon Architect will turn green to indicate a successful connection.
 Figure 5-5 Establishing a Connection with the DS560MB410