SLAU821 October 2019
4.3 Using CapTIvate Design Center
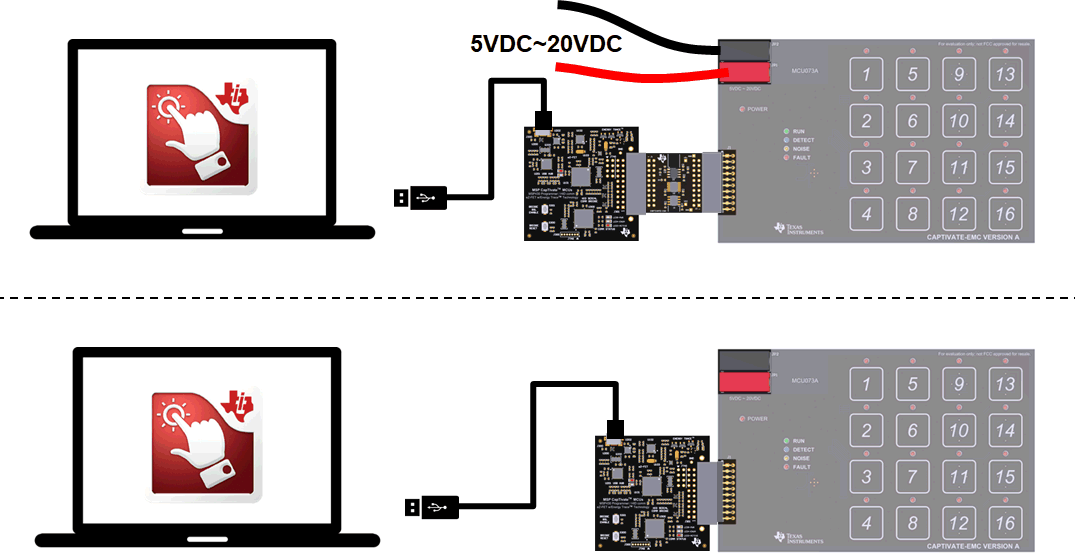
Figure 7 shows the options for connecting the CAPTIVATE-EMC to a host computer:
- Connect the CAPTIVATE-EMC to a host computer with the CAPTIVATE-PGMR and remove the connection from the DC power supply.
- Keep the DC power supply and connect the CAPTIVATE-EMC to a host computer with CAPTIVATE-PGMR and CAPTIVATE-ISO.
Open CapTIvate Design Center on the host computer.
 Figure 7. Connection to CapTIvate Design Center
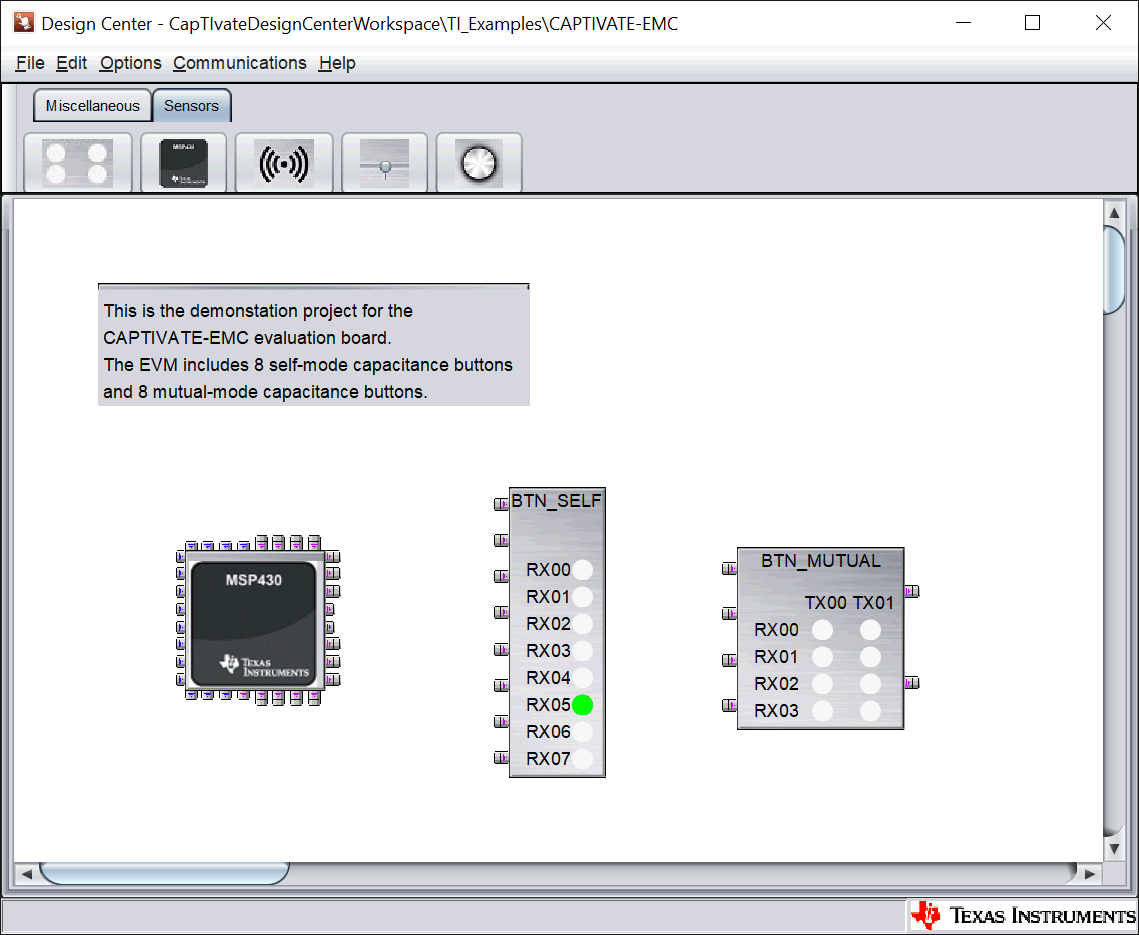
 Open the FR2676_CAPTIVATE-EMC example project in CapTIvate Design Center. Select Communications → Connect from the menu bar in CapTIvate Design Center to enable target communications. When the user touches a button, the button status is reflected in CapTIvate Design Center (see Figure 8).
 Figure 8. CAPTIVATE-EMC Project Canvas