SBOU278 December 2021
5.1 Microsoft Windows 7 Manual Driver Installation
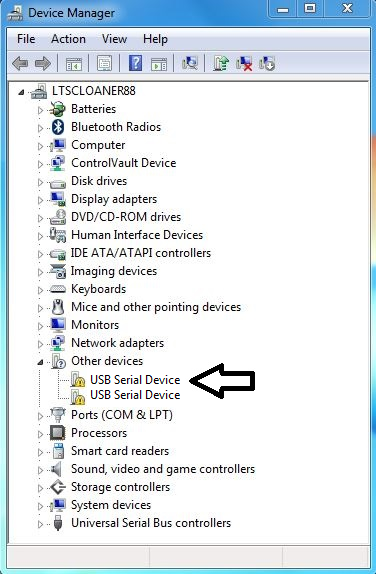
This section outlines the manual driver installation process. If you are using Windows 7 or if the Windows device manager shows 2 USB Serial Devices under other devices as shown in Figure 5-1 when the EVM is plugged in instead of COM ports, please use the following steps to correctly install the USB drivers. If two USB Serial Device devices show up as COM ports automatically (as is the case with Windows 10), then this section can be skipped.
 Figure 5-1 OPT4001YMNEVM on Microsoft®Windows® 7 With Drivers not Installed
- Open the device manager.
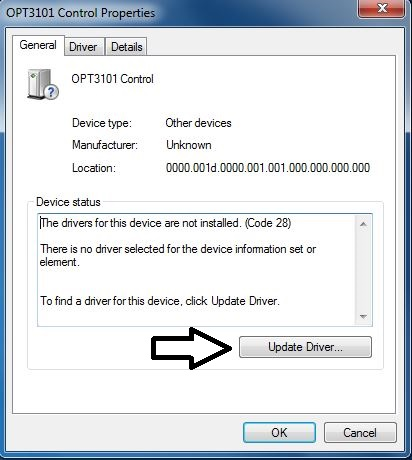
- Right click on USB Serial Device and select Properties.
- Click the Update
Driver… button.
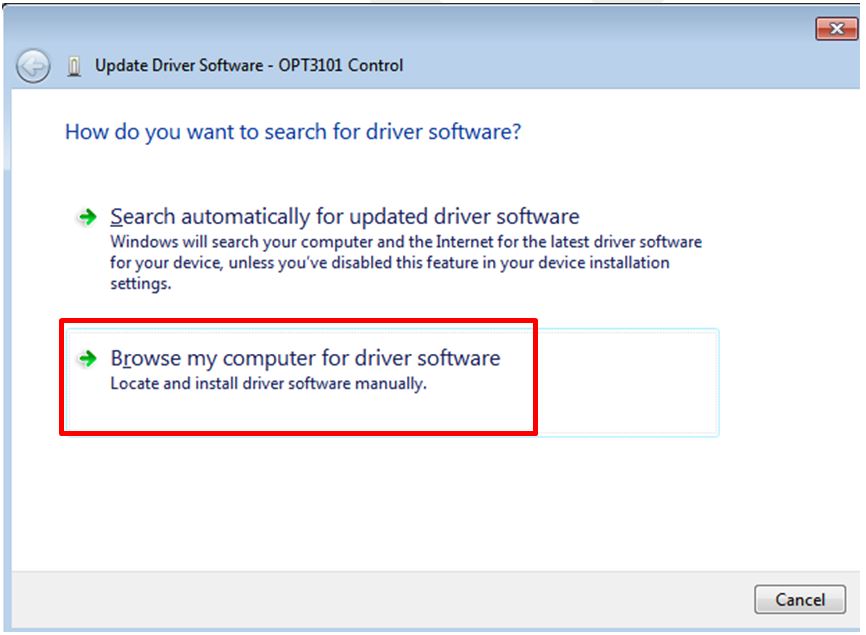
- Click Browse my computer for driver software
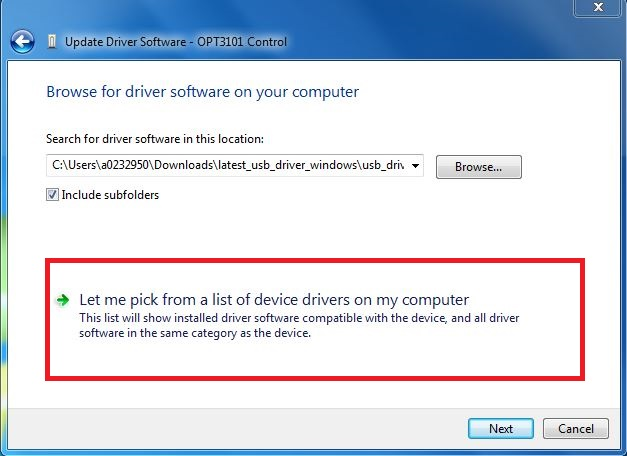
- Click Let me pick from
a list of device drivers on my computer.
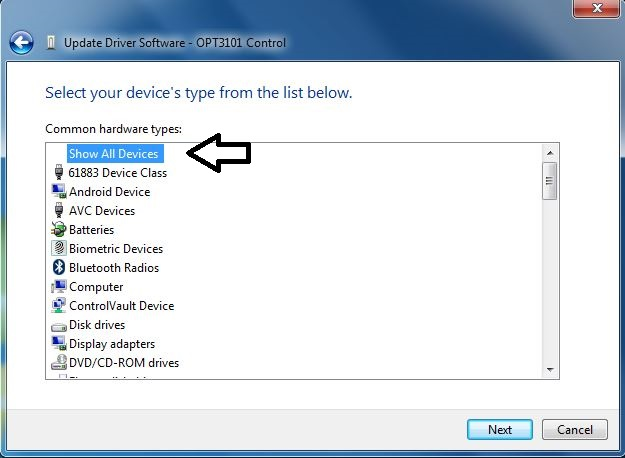
- Select Show All Devices and click the Next button.
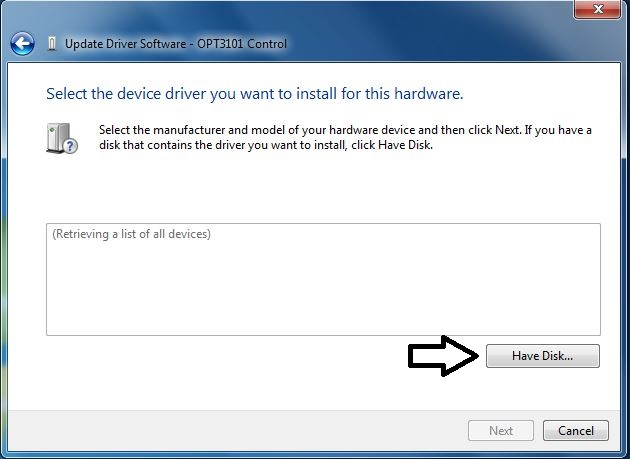
- Click the Have
Disk… button.
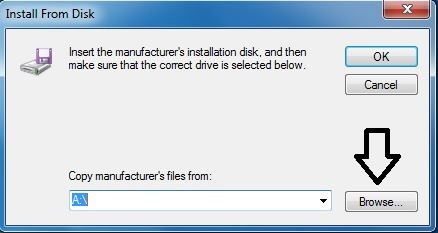
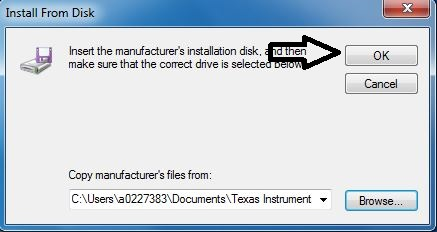
- Click the Browse… button.
- Navigate to “C:\Users\<username>\Documents\Texas Instruments\Latte\projects\OPT4001\drivers” and choose MSP430_CDC. Click the Open button.
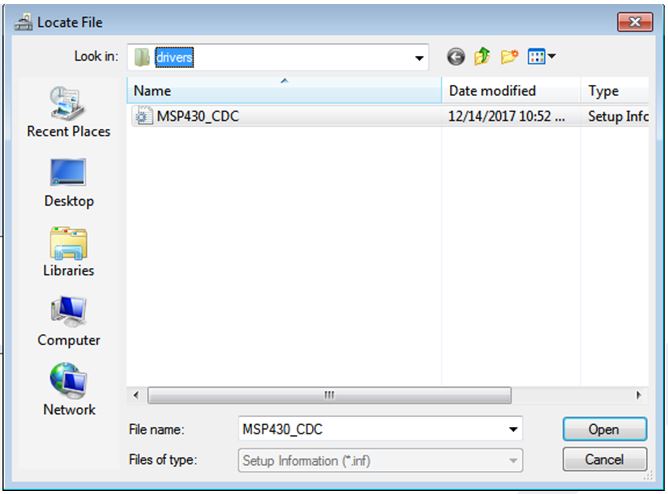
- Click the OK button
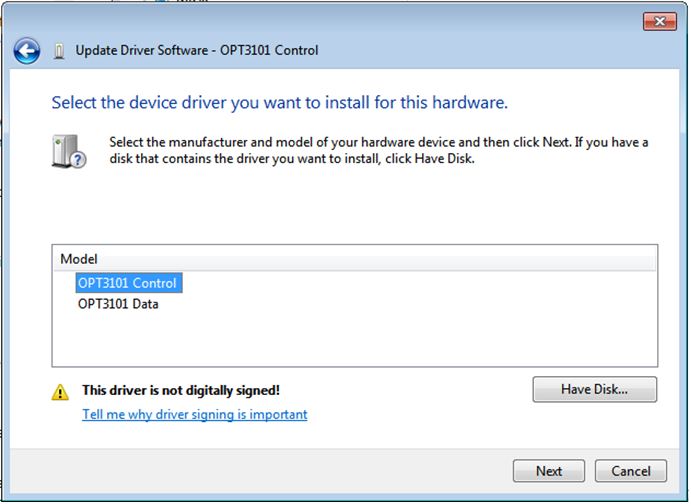
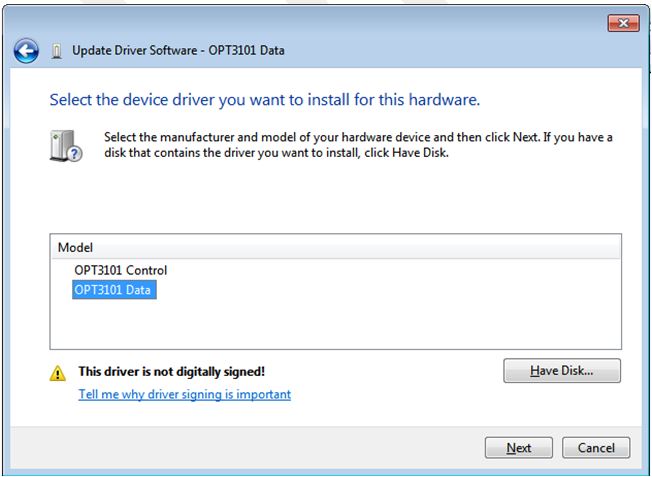
- Select the first USB serial device and click the Next button.
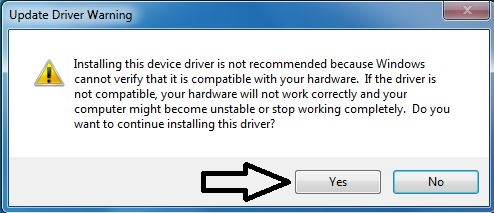
- Click the Yes button.
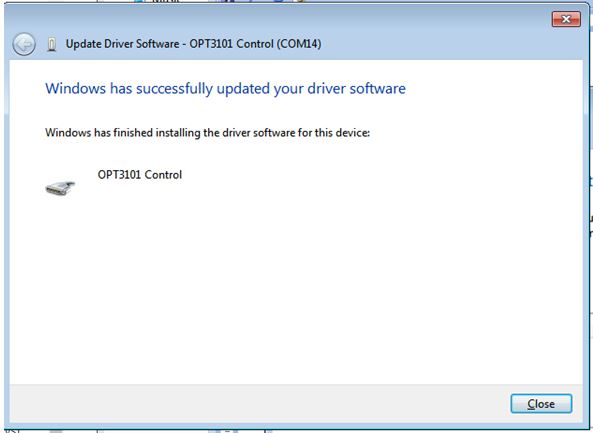
- The driver should now
install properly.
- Now repeat this process (steps 1 to 13) for the second USB Serial Device. All steps are the same except for step 2 and step 11. In step 2 make sure to right click the second USB Serial Device. Likewise, on step 11 make sure to select the second USB Serial Device when installing the driver as the following figure shows.
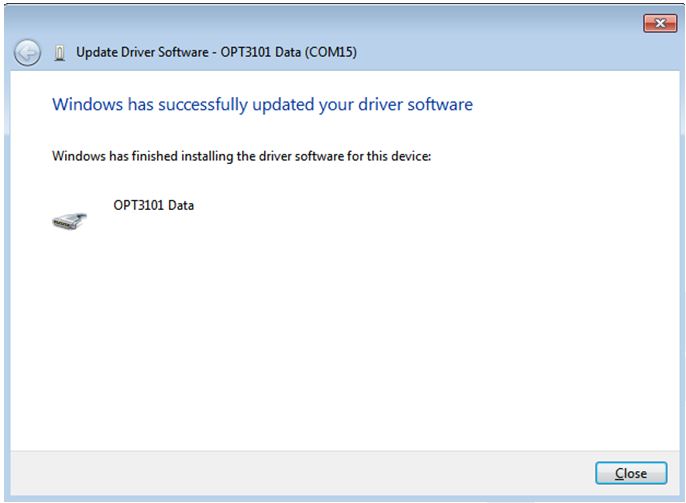
- When the driver is
installed, you will see the following message.
- The two USB Serial Device devices should now appear in the device manager under Ports (COM & LPT) as the following image shows.