SNAA266A April 2015 – November 2015 TDC1000 , TDC1000-Q1 , TDC1011 , TDC1011-Q1
2.3 Assembly Steps
- Roughen 1 cm square area on lower side of plastic container with sandpaper.
- De-grease with alcohol.
- Dry area with air gun.
- Apply CYA glue to 1 cm square area.
- Attach transducer to glue spot with leads out to side of container.
- While applying gentle pressure to transducer to hold it in place apply “CYA Accelerator” to transducer.
- Wait approximately 15 sec for glue to cure. Blow off excess Accelerator.
- Apply alcohol to clean area. Dry area with air gun.
- Apply hot glue around the circumference of the transducer.
- Continue covering transducer until it is completely covered in hot glue.
- Use air to gently cool glue.
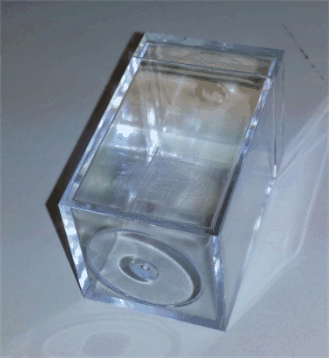 Figure 1. Test Container Preparation
 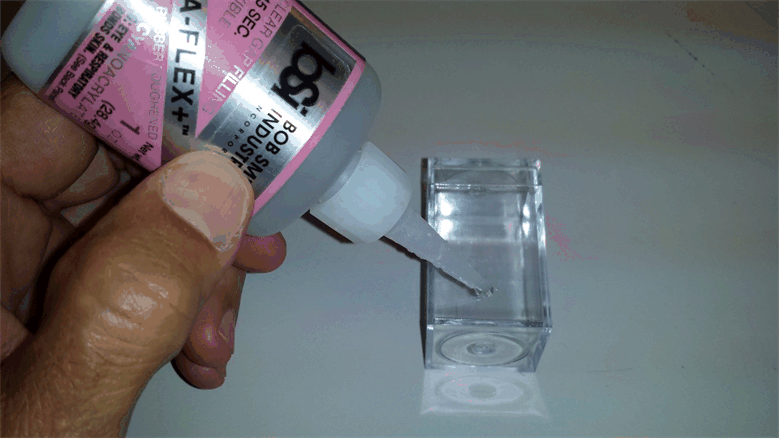 Figure 2. Applying CYA to Test Container
 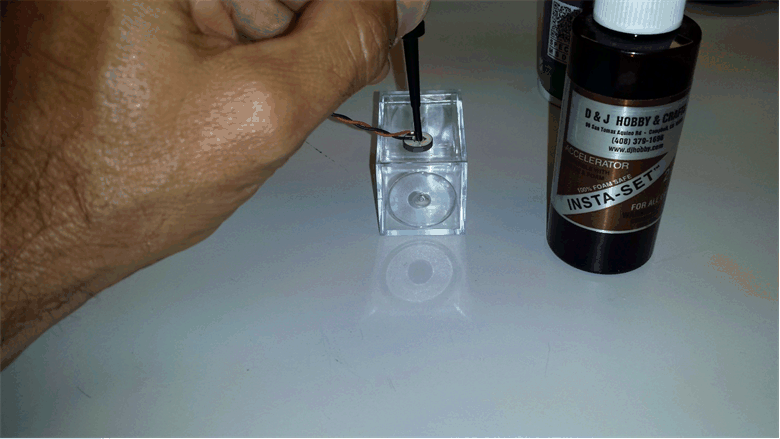 Figure 3. Mounting Transducer to Test Container
 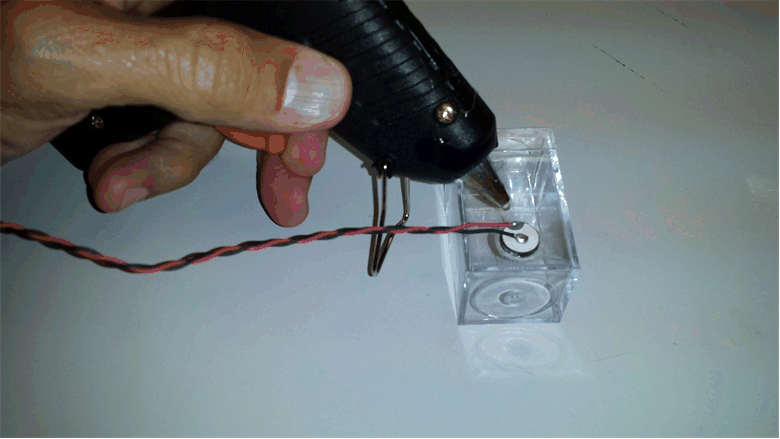 Figure 4. Applying Hot Glue to Transducer
 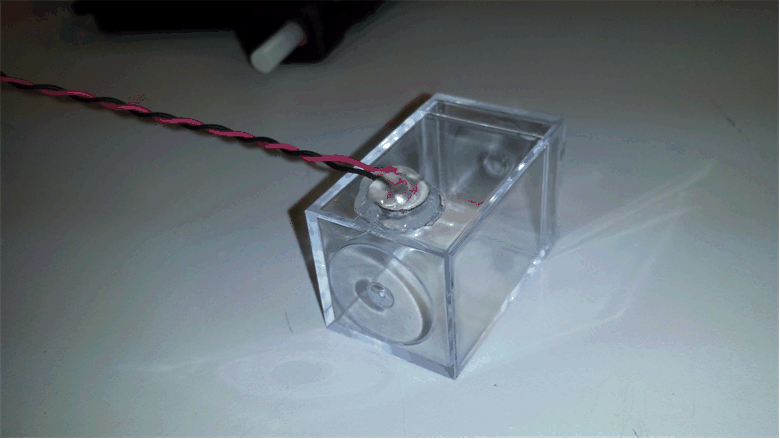 Figure 5. Completed Assembly