SLOU538 June 2020
3.3 Use the DRV8428P EVM GUI
After open the DRV8428 GUI, the GUI landing page shown in Figure 1
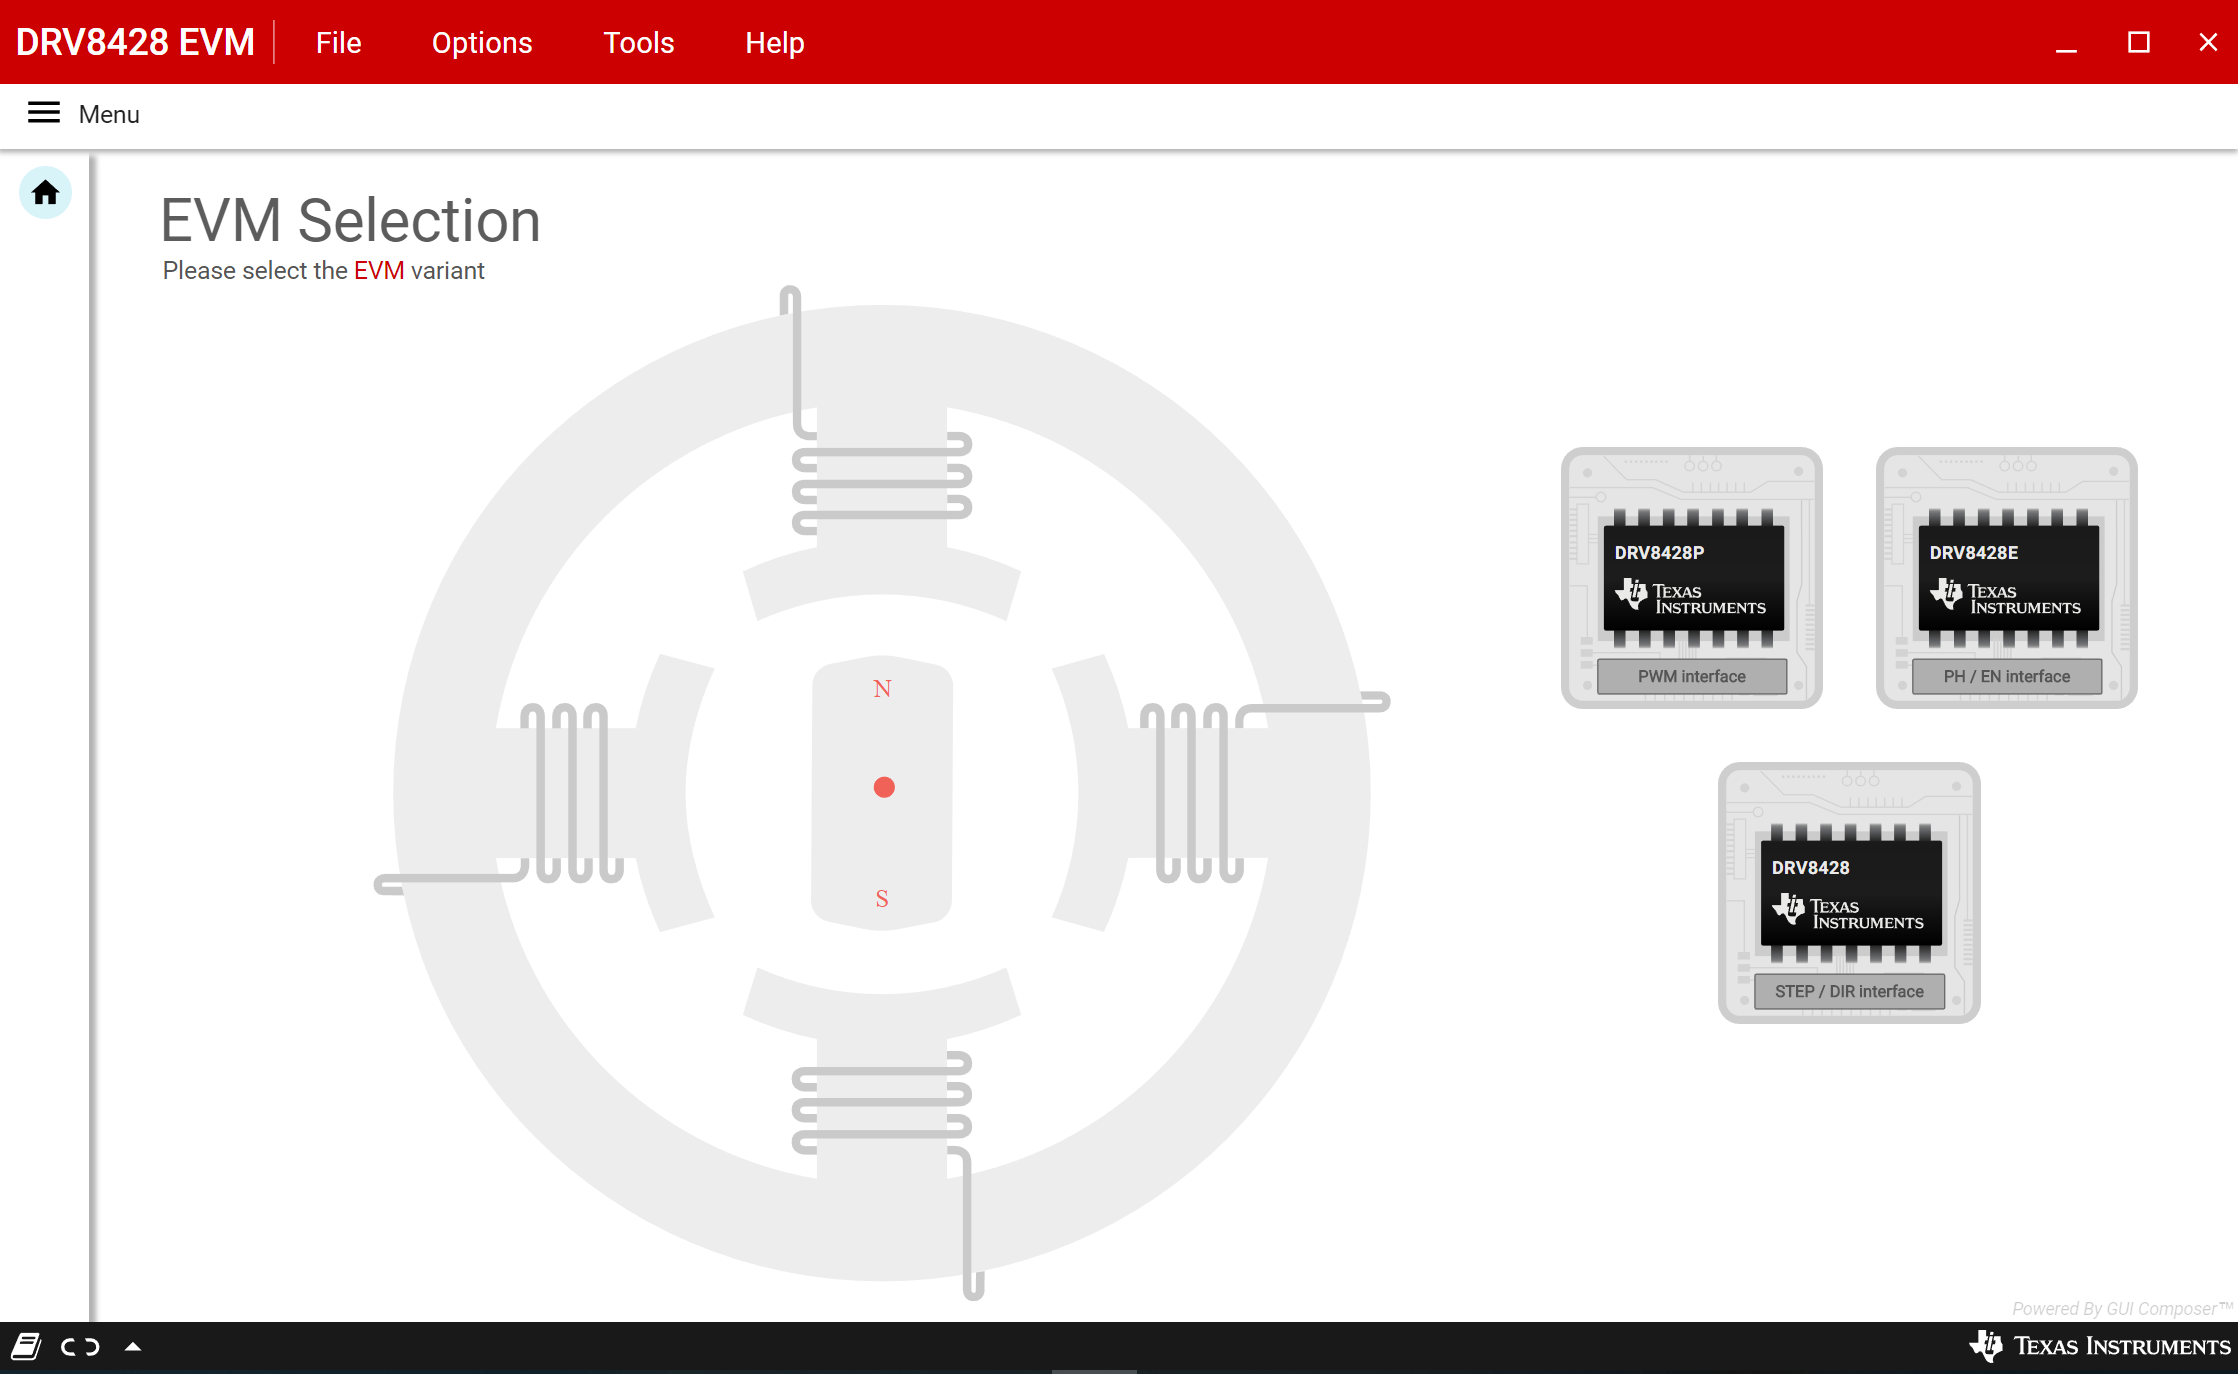
After click the DRV8428P device from the GUI landing page, the DRV8428P GUI home page shown in Figure 2
") Figure 2. DRV8428P EVM GUI (Home Page)
Figure 2. DRV8428P EVM GUI (Home Page) The application will try to establish communication with the device connected. A message showing ‘Connected to Cloud Agent. Connecting to target…’ will be displayed in the hardware connection status pane at the bottom of the screen. If the connection is successful, ‘COMxx:9600 Connected to Target’ message appears as shown in Figure 3 below
") Figure 3. DRV8428P EVM GUI (Device Connection Pane)
Figure 3. DRV8428P EVM GUI (Device Connection Pane) If the GUI fails to connect to the EVM, the hardware connection status pane will show the message ‘Hardware Not Connected’.
If the GUI is opened without connecting the EVM, the hardware connection status pane will show ‘Error: no serial ports found’.
If there are more than one DRV8428P EVM boards connected, the first matching device will be connected automatically. In order to switch to another EVM:
- Click Options -> Serial Port. A serial port configuration popup is displayed as shown below in Figure 4.
- Choose the appropriate port and baud rate.
- Click OK
 Figure 4. Serial Port Configuration
 Once the correct device is connected, the home page will show a message ‘Device Connected’ with a green check mark as shown in Figure 1
Click on the ‘Stepper Motor’ button to open the motor control page.