SNAU274 December 2021
3 Graphical User Interface (GUI)
After following the installation
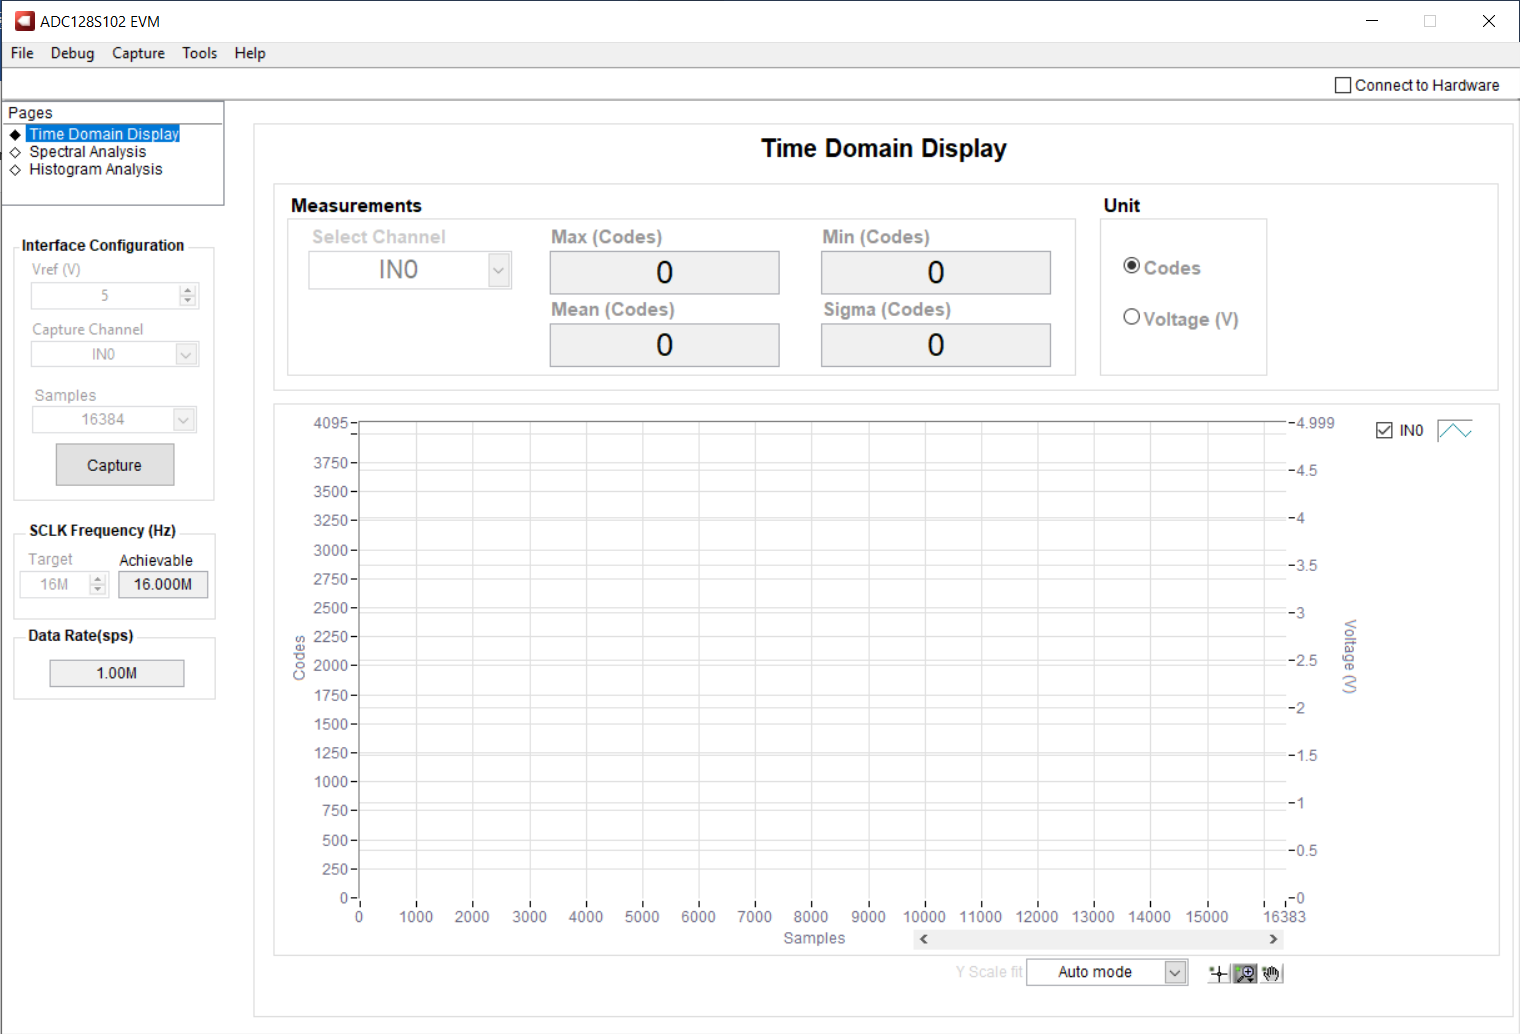
instructions outlined in Section 2, open the ADC128S102EVM GUI software. The GUI window (as shown in Figure 3-1) is divided into two main sections, the left most section where display and
configuration options are available, and the right most, larger section where capture
data are displayed.
 Figure 3-1 ADC128S102EVM GUI
Display
The Pages section is on the top left of the GUI window, and lists the available views and measurements supported by the GUI.
On the left, there are also three other sections available for user configuration: Interface Configuration, the SCLK Frequency, and the Data Rate (SPS). All these sections are editable by the user.
 Figure 3-1 ADC128S102EVM GUI
Display