SLUUBM0D May 2017 – October 2020
- Trademarks
- 1Description
- 2Performance Specifications
- 3Performance Data and Typical Characteristic Curves
- 4Schematic, PCB Layout, and Bill of Materials
- 5Software
- 6Use of LEDSPIMCUEVM-879 Microcontroller Board for SPI Communications with the TPS92518
- 7Revision History
5.1 TPS92518 Demonstration Kit Software Installation
Click on TPS92518 Demonstration Kit Installer.exe, right click, and click 'Run As Administrator'. Click ‘yes’ when Windows Account Control asks to allow the program to make changes to the computer.
The evaluation software screen shows:
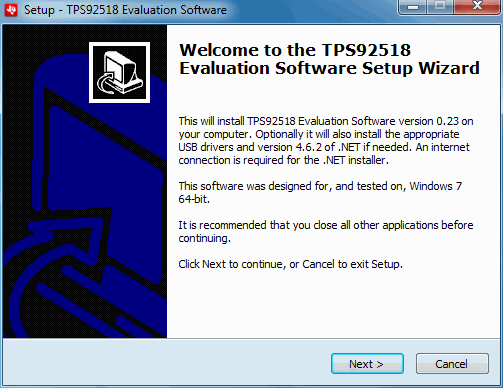 Figure 5-1 Setup Screen 1
Click the Next > button to install.
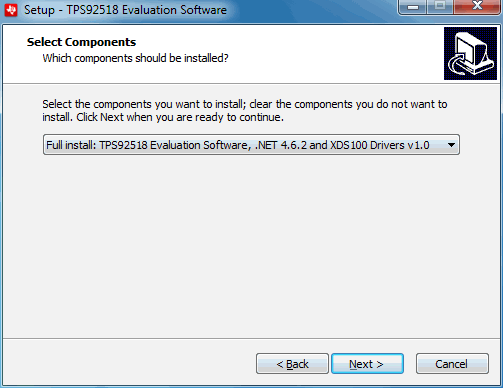 Figure 5-2 Setup Screen 2
Click the Next > button.
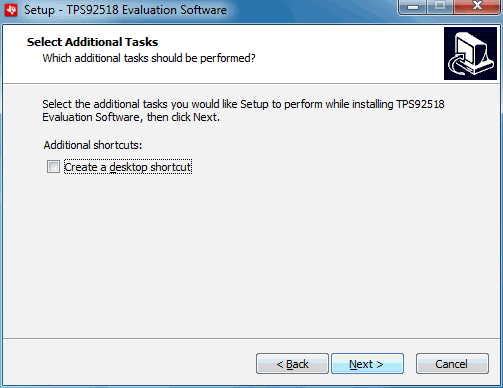 Figure 5-3 Setup Screen 3
Click the Next > button.
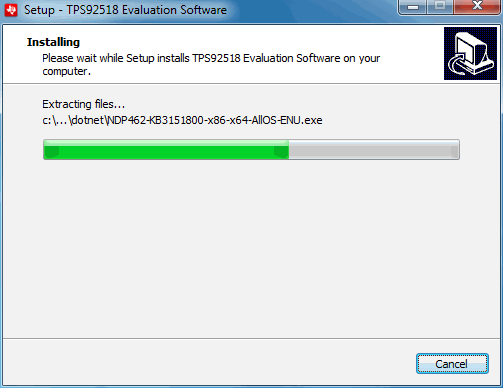 Figure 5-4 Setup Screen 4
Wait for it to finish extracting and installing files.
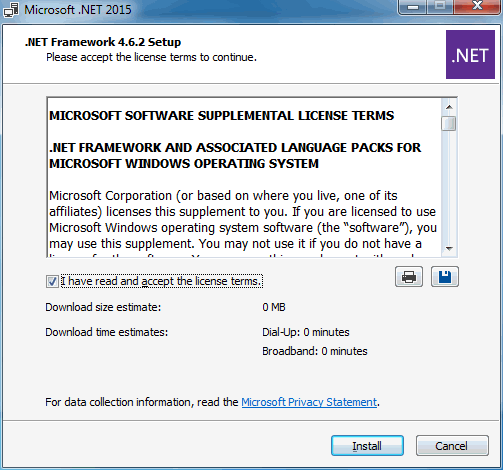 Figure 5-5 Setup Screen 5
Check the box stating you accept the license terms and click the Install > button.
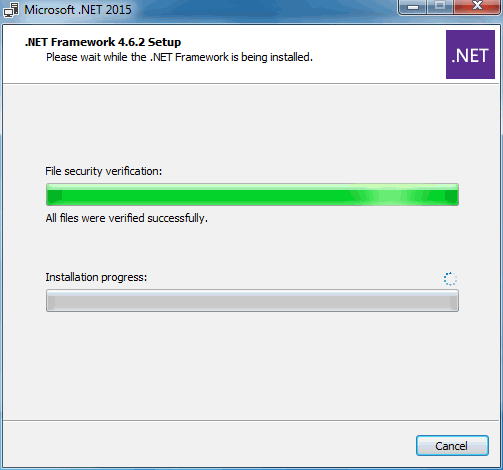 Figure 5-6 Setup Screen 6
It may be necessary to stop other programs using Microsoft®.NET Framework® during the installation process. Select Yes, if asked.
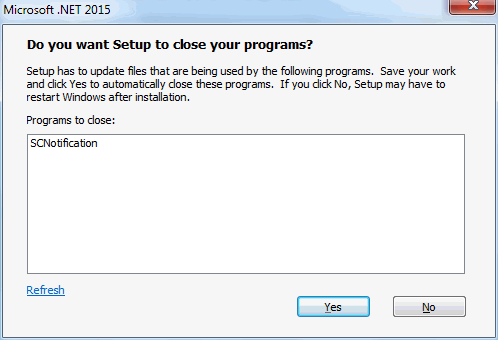 Figure 5-7 Setup Screen 7
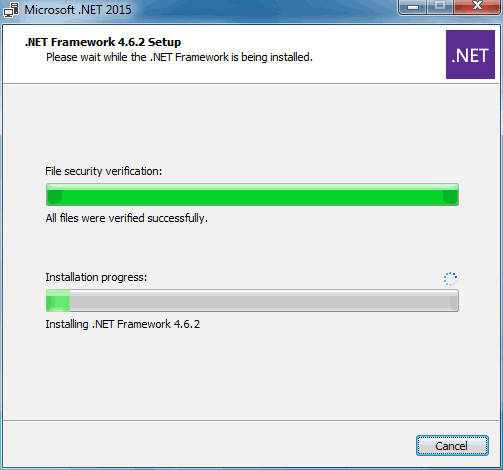 Figure 5-8 Setup Screen 8
Wait for .NET to download, verify, and install.
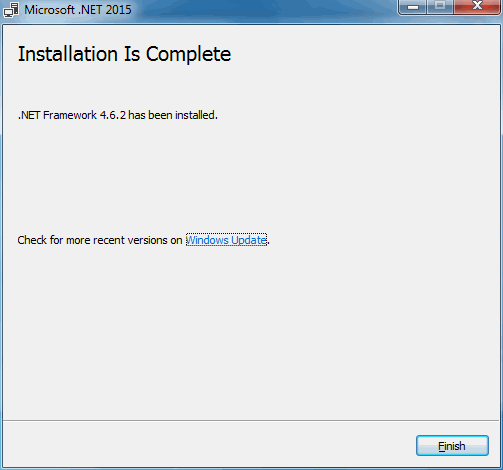 Figure 5-9 Setup Screen 9
Click the Finish > button.
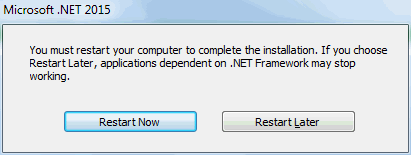 Figure 5-10 Setup Screen 10
Click on the Restart Now button.