SPNA243 June 2020 TM4C1236D5PM , TM4C1236D5PM , TM4C1236E6PM , TM4C1236E6PM , TM4C1236H6PM , TM4C1236H6PM , TM4C1237D5PM , TM4C1237D5PM , TM4C1237D5PZ , TM4C1237D5PZ , TM4C1237E6PM , TM4C1237E6PM , TM4C1237E6PZ , TM4C1237E6PZ , TM4C1237H6PGE , TM4C1237H6PGE , TM4C1237H6PM , TM4C1237H6PM , TM4C1237H6PZ , TM4C1237H6PZ , TM4C123FE6PM , TM4C123FE6PM , TM4C123FH6PM , TM4C123FH6PM , TM4C123GE6PM , TM4C123GE6PM , TM4C123GE6PZ , TM4C123GE6PZ , TM4C123GH6PGE , TM4C123GH6PGE , TM4C123GH6PM , TM4C123GH6PM , TM4C123GH6PZ , TM4C123GH6PZ , TM4C123GH6ZRB , TM4C123GH6ZRB , TM4C123GH6ZXR , TM4C123GH6ZXR
- Using USB Host Mode on the EK-TM4C123GXL LaunchPad
6.5 Run the usb_stick_demo Program
After the usb_stick_demo program is loaded into the flash, the processor will skip the usb_stick_update (the bootloader application) and will directly jump to the user application (the usb_stick_demo).
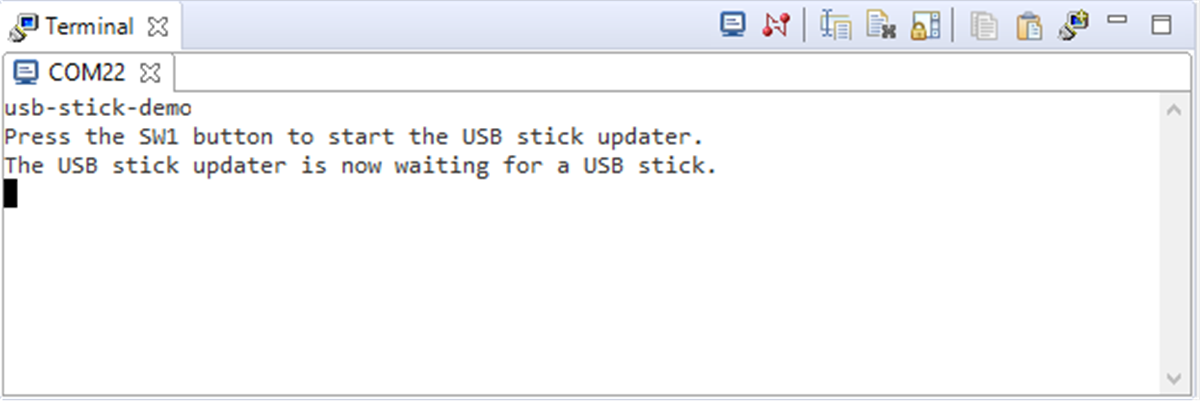
With the terminal window open, you will see messages as shown in Figure 15. The usb_stick_demo is waiting for the user to press the SW1 switch to transfer the control back to the usb_stick_update routine to force a new update of the user application.
Before pressing the SW1 switch, carefully observe the LED light on the LaunchPad. The LED will start with one particular color (red) and sequence to blue then green after each update of the user application. This is a confirmation that a new update happened even if the same usb_stick_demo is loaded again.
 Figure 15. usb_stick_demo Outputs
 Next, press the SW1 switch. After the SW1 switch is pressed, a message is displayed on the terminal window indicating it is now waiting for the USB Memory Stick to be inserted and control is transferred back to the usb_stick_update routine.
 Figure 16. usb_stick_update Waiting for the Memory Stick Insertion
 After the memory stick is inserted, a new image of FIRMWARE.BIN (usb_stick_demo or your own custom user application) is loaded to the flash at address 0x4800. Run the updated user application. Carefully observe the LED light again if you are loading the same usb_stick_demo program image. You should see a different LED light color compared to the last run. Repeat Section 6.5 and you will see the LED light color sequencing between red, blue and green.