SLVUCC0A October 2021 – December 2021 TPS2597
5.5 Overvoltage Clamp Test
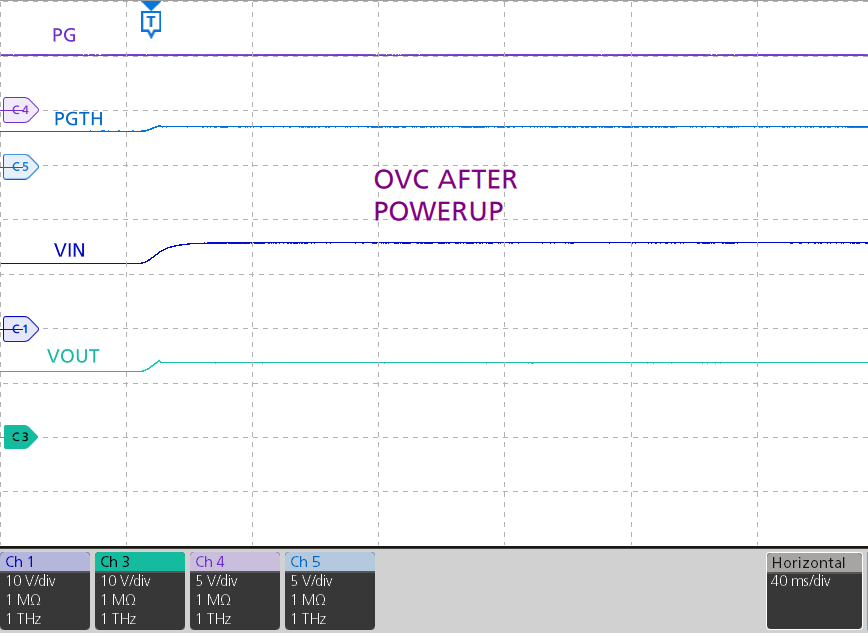
Use the following instructions to perform the overvoltage protection test on channel 1:
- Remove input TVS diodes.
- Set the input supply voltage VIN to 12 V and current limit of 10 A. Apply the supply between VIN1 and PGND1 at connector J1 and enable the power supply.
- Increase the input supply VIN from 12 V to 16 V and observe the waveforms using an oscilloscope.
Figure 5-6 shows overvoltage response of TPS25972x on the TPS2597EVM eFuse evaluation board.
 Figure 5-6 Overvoltage Protection Response of the
TPS25972x Device