DLPU058A September 2017 – February 2019
- DLP® LightCrafter Display 3010 EVM Gen2 User's Guide
- Revision History
6 Quick-Start Procedure
This quick-start assumes default conditions as shipped.
- Power up the DLP LightCrafter™ Display 3010 EVM Gen2 by applying an external DC power supply (19 V DC, 4.75 A) to the J9 connector.
External Power Supply Requirements:- Nominal Output Voltage: 19 VDC
- Minimum Output Current: 2.5 A; Max Output Current: 4.74 A
- Efficiency Level: VI
NOTE: The system is designed to operate also with an external 12-V DC power supply. The P5V_VIN (D9) and P3P3V_SB (D10) LED will turn on to indicate that 5-V and 3.3-V standby power is applied. - Move SW2 switch to the ON position to turn on the DLP LightCrafter Display 3010 EVM-G2. When the DLP LightCrafter Display 3010 EVM-G2 is turned on, the PROJ_ON LED (D4) will turn on.
- After the DLP LightCrafter Display 3010 EVM-G2 is turned on; the projector will default to displaying a DLP LightCrafter Display splash image.
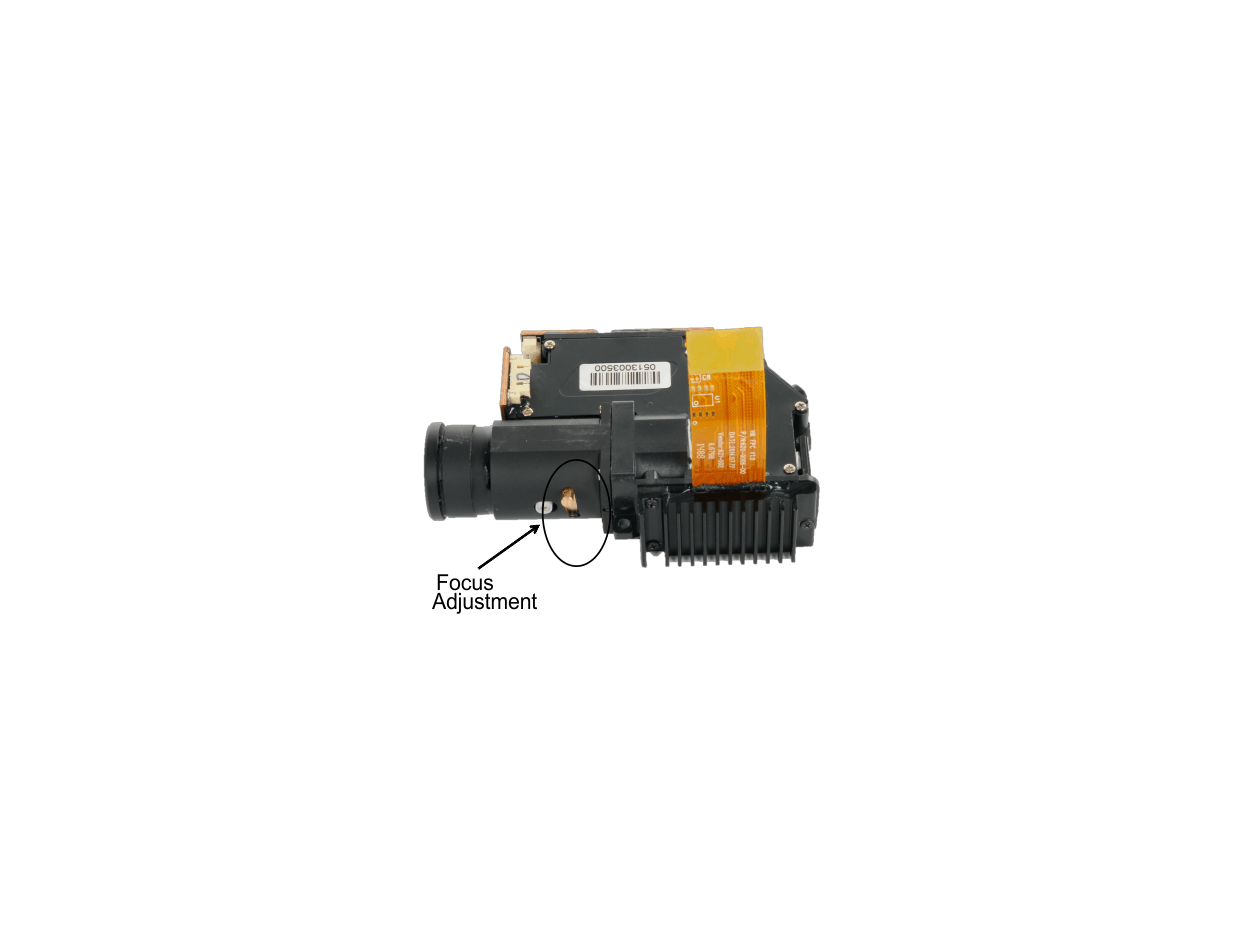
- The focus of the image can be adjusted manually on the optical engine.
- Connect the USB to the DLP LightCrafter™ Display 3010 EVM-G2 and open the latest GUI on your computer. If needed, connect an HDMI source to the EVM and communicate to the EVM via the GUI software.
- When turning off the projector, turn off the SW2 switch prior to removing the power cable.
Note: To avoid potential damage to the DMD, it is recommended to turn off the projector with the SW2 switch before disconnecting the power.
 Figure 4. Optical Engine with Focus Adjustment
 There are ten indicator LEDs on the DLP LightCrafter Display 3010 EVM, and they are defined in Table 2:
Table 2. LEDs on the DLP LightCrafter Display 3010 EVM
| LED Reference | Signal Indication | Description |
|---|---|---|
| D1 | MSP_LED2_ONz | ON when HDMI cable is plugged in and external video is detected. OFF when external video is not detected. |
| D2 | HOST_IRQ | ON during DLPC3433 boot, OFF when projector is running. Indication of DLPC3433 boot-up completed and ready to receive commands |
| D3 | RESETZ | OFF when Projector is turned on via SW_ONOFF |
| D4 | PROJ_ON | On when Projector is turned on via SW_ONOFF |
| D5 | GPIO1 | Blinking when PC is communicating to flash over SPI |
| D6 | GPIO0 | Blinking when PC is communicating to DLPC3433 over I2C |
| D7 | MSP430_ACK | ON when Cypress CY3420 is I2C master. OFF when MSP430 is I2C master |
| D8 | MSP430_REQ | ON when Cypress CY3420 requests the MSP430 to give Cypress master control of the I2C bus |
| D9 | P5V_VIN | Regulated 5-V power on |
| D10 | P3P3V_SB | Regulated 3.3-V power on |